Writing a Biography with LivingWriter: Easy as Pie

A biography can be deceptively easy to write — after all, you just need to narrate how a person lived their life, right? However, when you start to pull out pen and paper and start to write, you’d run into multiple roadblocks.
What information should I include? How specific should this biography be? How do I break a biography into logical sections?
As one of the more common pieces that people write, LivingWriter makes writing a biography a breeze with its Biography template. Let’s take a dive on the Biography template and see how it can make your writing process easier.
How to Use the Biography Template
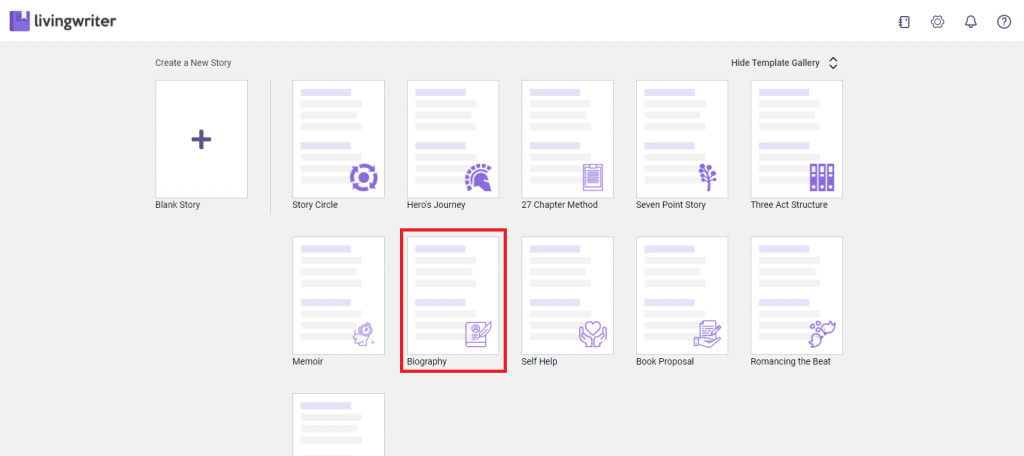
When you open LivingWriter, press Templates at the top-right area of the template gallery. This will expand the gallery and show you all the available templates. We know, they’re a lot, and we are still looking into adding more of these.
For now, though, we will deal with the Biography template. Go ahead and click it.

A dialog box will appear after you click the template. You’ll be asked to enter the title of your biography. You can’t proceed if you don’t provide the title, so make sure that you fill this field first.
Of course, you can still change this title later on, so you don’t have to think hard for now.
The Description and Author fields are optional, so you can skip it for now. The last option is a toggle that enables a quick tutorial on LivingWriter and its rich feature set.
If you’re new to LivingWriter, we highly recommend you keep this option on so that you can be guided on how to use LivingWriter to the fullest.
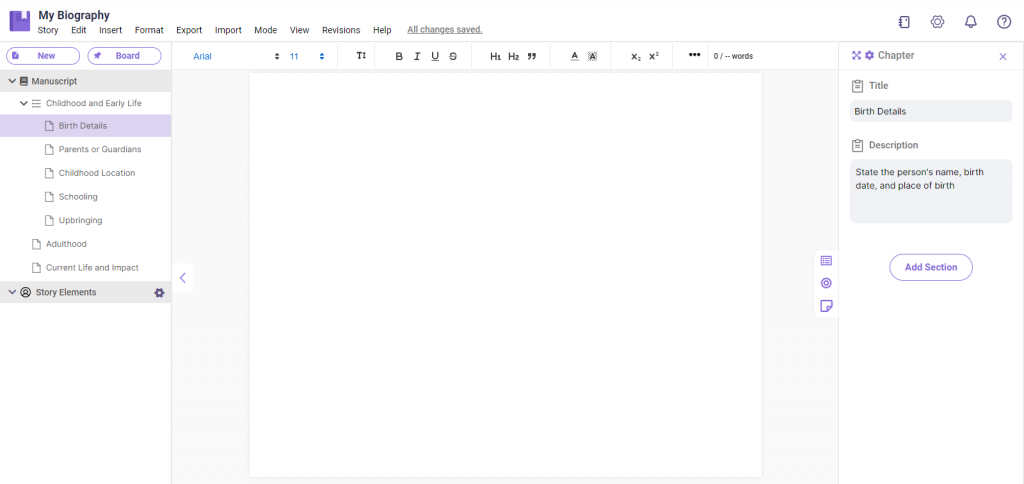
After pressing the Create button, you will be led into the main interface of LivingWriter. You will see in the left side of your screen the predefined chapters of a biography.
Clicking on any of them pulls its respective section at the middle, where you do the actual writing, and its properties at the right side, where you can store descriptions of the chapter, and even some of your notes to guide you on your writing.
You can see that LivingWriter has pre-filled the description boxes for the chapters, and you can freely add more sections in the properties sidebar if you so desire.

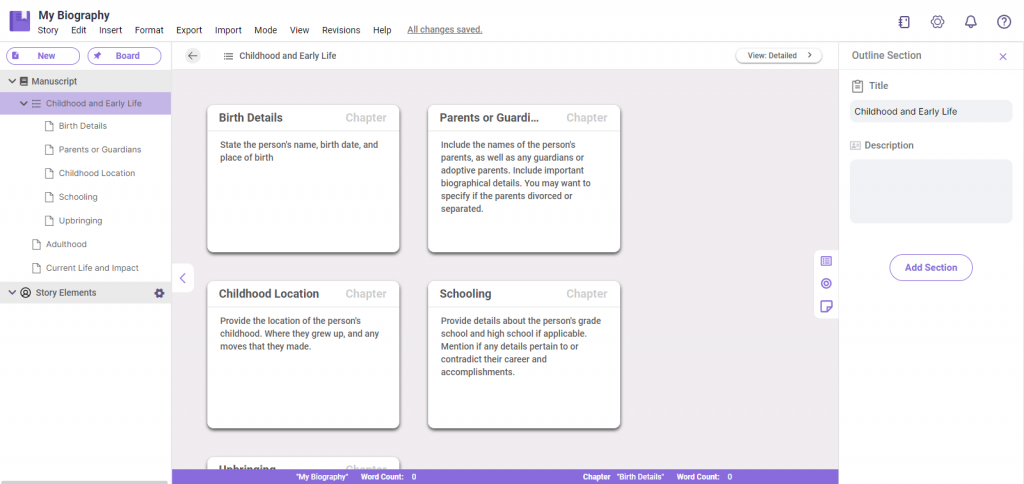
If you want to see the overview of the outline before going straight to writing, you can press the Childhood and Early Life section on the left, which will show you a detailed view of the outline, with each chapter and its description laid out in boxes.

Although we recommend this outline, you can freely modify this outline and move around and add more chapters if you feel the need to do so. This is especially true for the Adulthood and Current Life and Impact chapters, where you might feel that you will need more than just a single chapter to write about that point of life.
The Parts of the Biography Template
The first outline provided in the template is the Childhood and Early Life outline. It contains five predefined chapters: Birth Details, Parents or Guardians, Childhood Location, Schooling, and Upbringing. We’ll go through each section one by one and how you can go around writing them.
- The Birth Details chapter is where you would begin to introduce the person, including their birth date and place of birth. If you have information on details around their birth aside from their birthday, such as complications during pregnancy or other postnatal information that may be important in their later life, you can write them here.
- The Parents or Guardians chapter would talk mostly about, well, the person’s parents and/or guardians. You can also talk about their second-degree relatives who might be worth mentioning in this chapter.
- The Childhood Location chapter would deal with describing where the person grew up for the entirety of their childhood. If that person frequently moved from place to place, this is a good place to talk about the reasons for their move and the descriptions of their neighborhood or house.
- The Schooling chapter is where you explore the educational background of the person. You can talk about the person’s schools from primary to tertiary education, and mention their scholastic achievements and other significant information related to their education. This section can also include the special classes that they took, such as music or dance lessons.
- The Upbringing chapter would deal with the intangible aspects of the person’s early life. Their religion, socioeconomic status, and culture, among others, would primarily fill this chapter.
Adulthood is provided only as a chapter, but feel free to expand on this or even make it into an outline similar to the Childhood and Early Life one. At this point, you can start making your own chapters and defining them according to the person you’re writing about.
Whether you keep this as a single chapter or a section of chapters, Adulthood would typically continue from where you stopped in Childhood and Early Life (usually life after their education), sectioning them according to the major arcs or events of that person’s life.
Same with Adulthood, Current Life and Impact is only given as a single chapter. This time, since you would primarily talk about the person’s current status, it can be left as is.
For living persons, this chapter can serve as a conclusion to the biography, narrating their current endeavors. For dead people, this would be where you would talk about the impact of that person to the people around him.
For historically significant figures, you might want to divide it into sections that detail that person’s impact on different people or fields.
Writing a Biography Has Never Been Easier
It can be unnerving to write a biography, since you have to represent someone’s life into a single document. With LivingWriter, you can rest easy that you got all bases covered, and if it’s not enough, remember that the template we provide is simply a starting point.
You can easily modify the outline to suit your specific needs. Of course, if you need to write something other than a biography, LivingWriter offers other templates that you might want to look into, such as the 27 Chapter Method and the Seven Point Story Structure.