How To Create AI Elements on LivingWriter

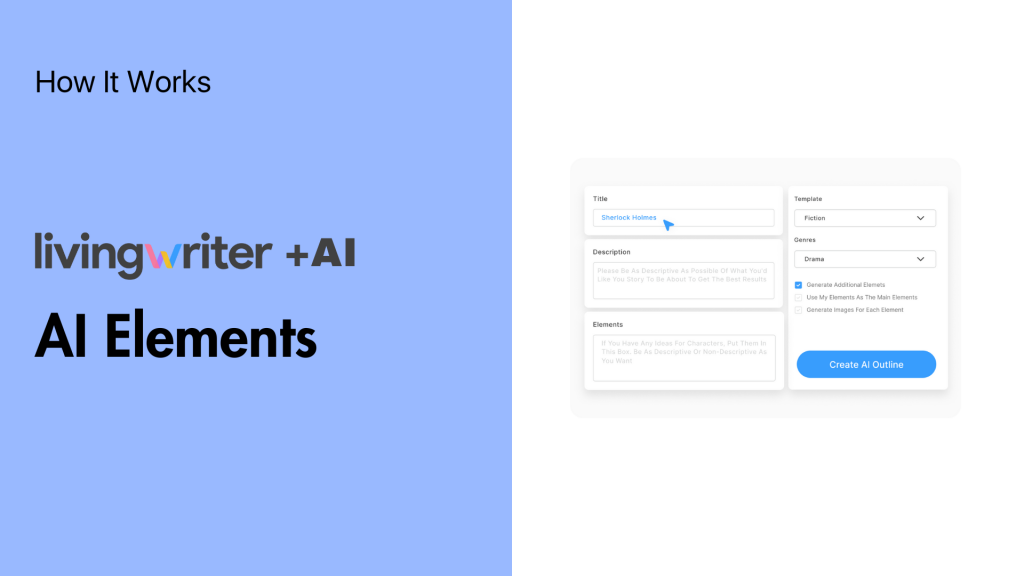
LivingWriter has a plethora of features to make your life as a writer easier. Among these features are a handful of game-changing, integrated AI tools. I’ve covered how the AI analysis, outline generation, and manuscript chat work. Now, I want to show you how to create AI elements on LivingWriter and make creating characters and settings a breeze.
On LivingWriter, an “element” refers to characters, important objects, or settings within your work. With the click of a few buttons and a short, general description of what you want, the AI can produce well-thought-out, exciting story elements for you. And can even make art for them.
With the basic info out of the way, here’s a more in-depth look. I’ll explain how AI elements are generated, where you can find the features within your manuscript, and give you examples along the way. So, without further ado, let’s get started!
Adding AI Elements On LivingWriter
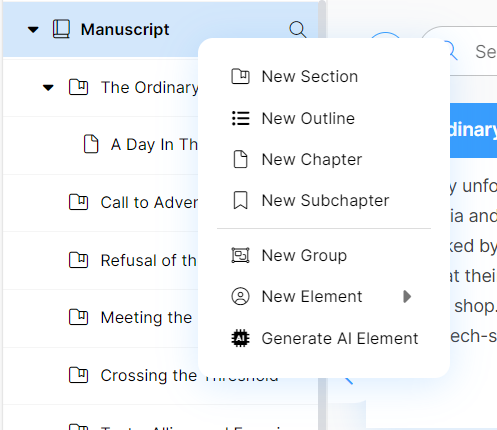
First, you’ll need to head to LivingWriter and open (or create a) manuscript. Once you’ve done that, you can right-click the manuscript or elements section to the left of your screen and find the “Generate AI Element” button at the bottom.

Click that, and you’re ready to get started.
The Prompt
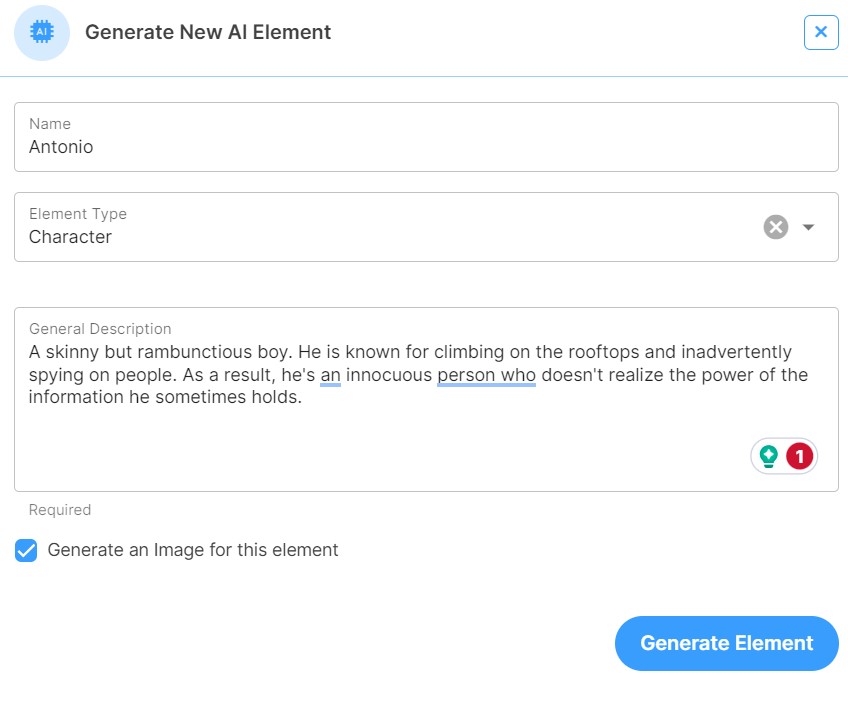
Here’s where you’ll enter the info for your element – Including the name (if you have one), element type (character, setting, object, or other), and give a description. The AI can work with as little detail as you want. So, don’t fret if you don’t have a complete idea.

I used the word “prompt,” but in reality, you can speak and describe things to the AI as you would another person. There is no special language or knowledge required. As you can see from my example, you can be pretty casual. Furthermore, it is compatible with different languages.
The results
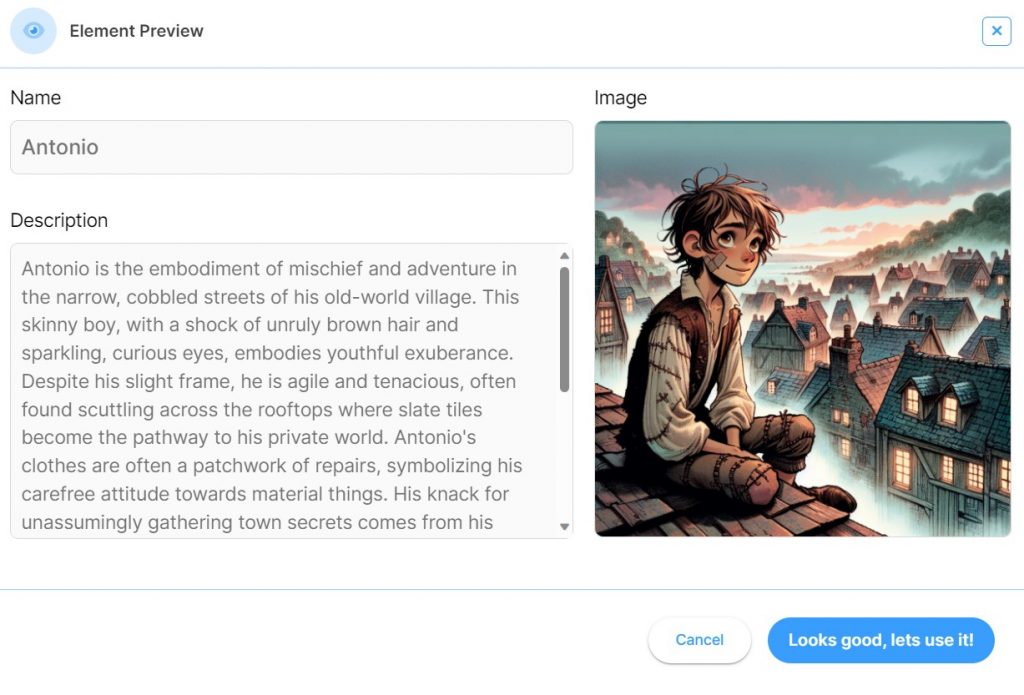
Ok, your info is in, and you’ve hit “Generate Element.” Now, the magic happens. The AI will take the information you provided and spit out a fully fleshed-out, well-described character, setting, or object, along with an image if you opt to include it.

Assuming you like what you see (which you will), hit that blue “Looks good, let’s use it!” button, and the element will be added to your manuscript: Voila, story element generation at the click of a button.
From there, you have full freedom with the element. You can add new info and get AI Analysis for it, just like all other elements in the work. Or ask the AI Manuscript Chat questions regarding the element, such as “How do I slowly turn Antonio into a villain?”
Conclusion
I love LivingWriter AI because it doesn’t do the writing for you. Instead, it gives you all the tools needed to get the ball rolling on your own ideas, a space to write them, a cohesive structure (outline generation), and feedback on how they can be improved (analysis), all on the same screen.
My stories have become much more dynamic thanks to the element generation. Now, I have a diverse, deep set of characters and settings instead of two main characters and the town they live in. And now that you know how to create AI elements on LivingWriter, you can too. Now, get out there and get those stories done. Until next time, happy writing.